07/20/2026
Tried out macro lens. Nice.
If I plug the camera into the laptop, turn off the camera, it WILL charge the battery.
07/09/2026
Edited a dahlia picture. Wanted to make it a circle instead of square. These instructions helped.
Alternative 2: Clipping Mask (Non-destructive method)
- Select the Ellipse Tool (press U) and draw a circle.
- Drag your rectangular image layer directly above the circle layer in the Layers panel.
- Right-click the image layer and select Create Clipping Mask. The photo will now only be visible inside the circle. [1, 2, 3, 4, 5]
If you can tell me what type of rectangle you are trying to convert (a photo, an existing vector shape, or a background layer), I can give you the exact steps to get the best result.
07/06/26
If want to adjust just one color, Select/Color Range is an option. Use the “eyedroper” to pick the desired color, then add a layer mask (I used Exposure) to adjust the selected color. Worked well.
06/18/2026
Did a “hand-on” tutorial. Beginner/Add text inside a shape. In short, added a circle inside the picture (the picture contained a object in the shape of a circle). Then used the Type Tool to add text. It seems this method forces the text to wrap within the shape.
05/18/2026
Did a “hands-on” tutorial. Beginner/Removing Spots and Imperfections. Use the Healing Brush to remove imperfection. Important –> make the brush size just a bit bigger than the object to be removed. This seems to make a big difference.
05/15/2026
Did a “hands-on” tutorial. Beginner/Adjust colors with Vibrance layer. Basically, use a Vibrance layer to adjust colors if a skin tone is a factor.
05/15/2026
Did a “hands-on” tutorial. Beginner/Change summer colors to fall with Hue and Saturation adjustments. Hue “describes a color” – Saturation means the intensity of the color. This example turned a picture of a forest tree from summer to fall. Not sure how useful that is.
05/14/2026
Did a “hands-on” tutorial. Beginner/Remove the Color Cast. Similar to the one below, but a little more complicated. Create a Level layer. Open the Properties Panel, then click the middle eyedropper, “Sample Image to Create a Gray mid-point.” Click, in this case, the light part of the butterfly’s wing. Did a great job of color correcting.
05/14/2026
Did a “hands-on” tutorial. Beginner/Apply Auto Color to remove a color cast. Create a Duplicate Layer. Then Image/Auto Color. At least in this tutorial, it did a great job, remove the blueish tint.
05/13/2026
Did a “hands-on” tutorial. Beginner/Make Specific Colors Pop. Add a Hue/Saturation layer. Click a color (Cyan works well with clouds and sky). Increase Hue and decrease Saturation. Also! Click the little hand on the upper right, and click on the color in the picture you want to modify. The cursor will turn into a eyedropper. Then increase Saturation. Nice!
05/12/26
Did a “hands-on” tutorial. Beginner/Create a B&W Infrared Affect. Create Channel Mixer layer. Then click “Monochrome”, which turns it to B&W. Increase “Green” to light green tones. Moving Red and Blue to left creates the infrared look. Pretty cool.
05/12/26
Did a “hands-on” tutorial. Beginner/Bleach. Add a B&W layer. Change Blend Mode from Normal to Overlay. This action give it a slightly “bleached” look.
05/11/2026
Did a “hands-on” tutorial. Beginner/Intensify the colors in a sunset silhouette. The “vibrance” layer is a good choice to intensive a sunset (for example). The tutorial says do vibrance first, then add a Brightness/Contrast as well.
05/07/2026
Did a “hands-on” tutorial. Beginner/Saturate Different Color Ranges in a food photo.
This could be very helpful. The tutorial explains how to increase the vibrancy of a particular color in a photograph (or decrease I guess).
Click “Adjust Colors” in the Properties Panel. Under “Presets”, click the color to adjust. In this case Green. etc etc
This tutorial could be useful. It basically shows how to make plant leaves more vibrant, by increasing the saturation level of the greens and yellows.
Problem: As is often the case, I couldn’t get the tutorial to work. If I follow the instructions exactly, the “Next” button is never available.
In this case, I had to guess until I hit on choosing Hue/Saturation under properties/adjustments. Then I could proceed.
05/06/2026
Did a “hands-on” tutorial, Beginner/Adjust Photo Lighting, Adjust Brightness Directly on Your Image.
Here’s how it works. Create a new Curves layer; select the hand top left (doesn’t really look much like a hand). Click a very dark or light area. Drag, and that area will lighten or dark depending on direction of drag.
The problem is that the entire image will darken or lighten. Might not be that useful.
05/03/2026
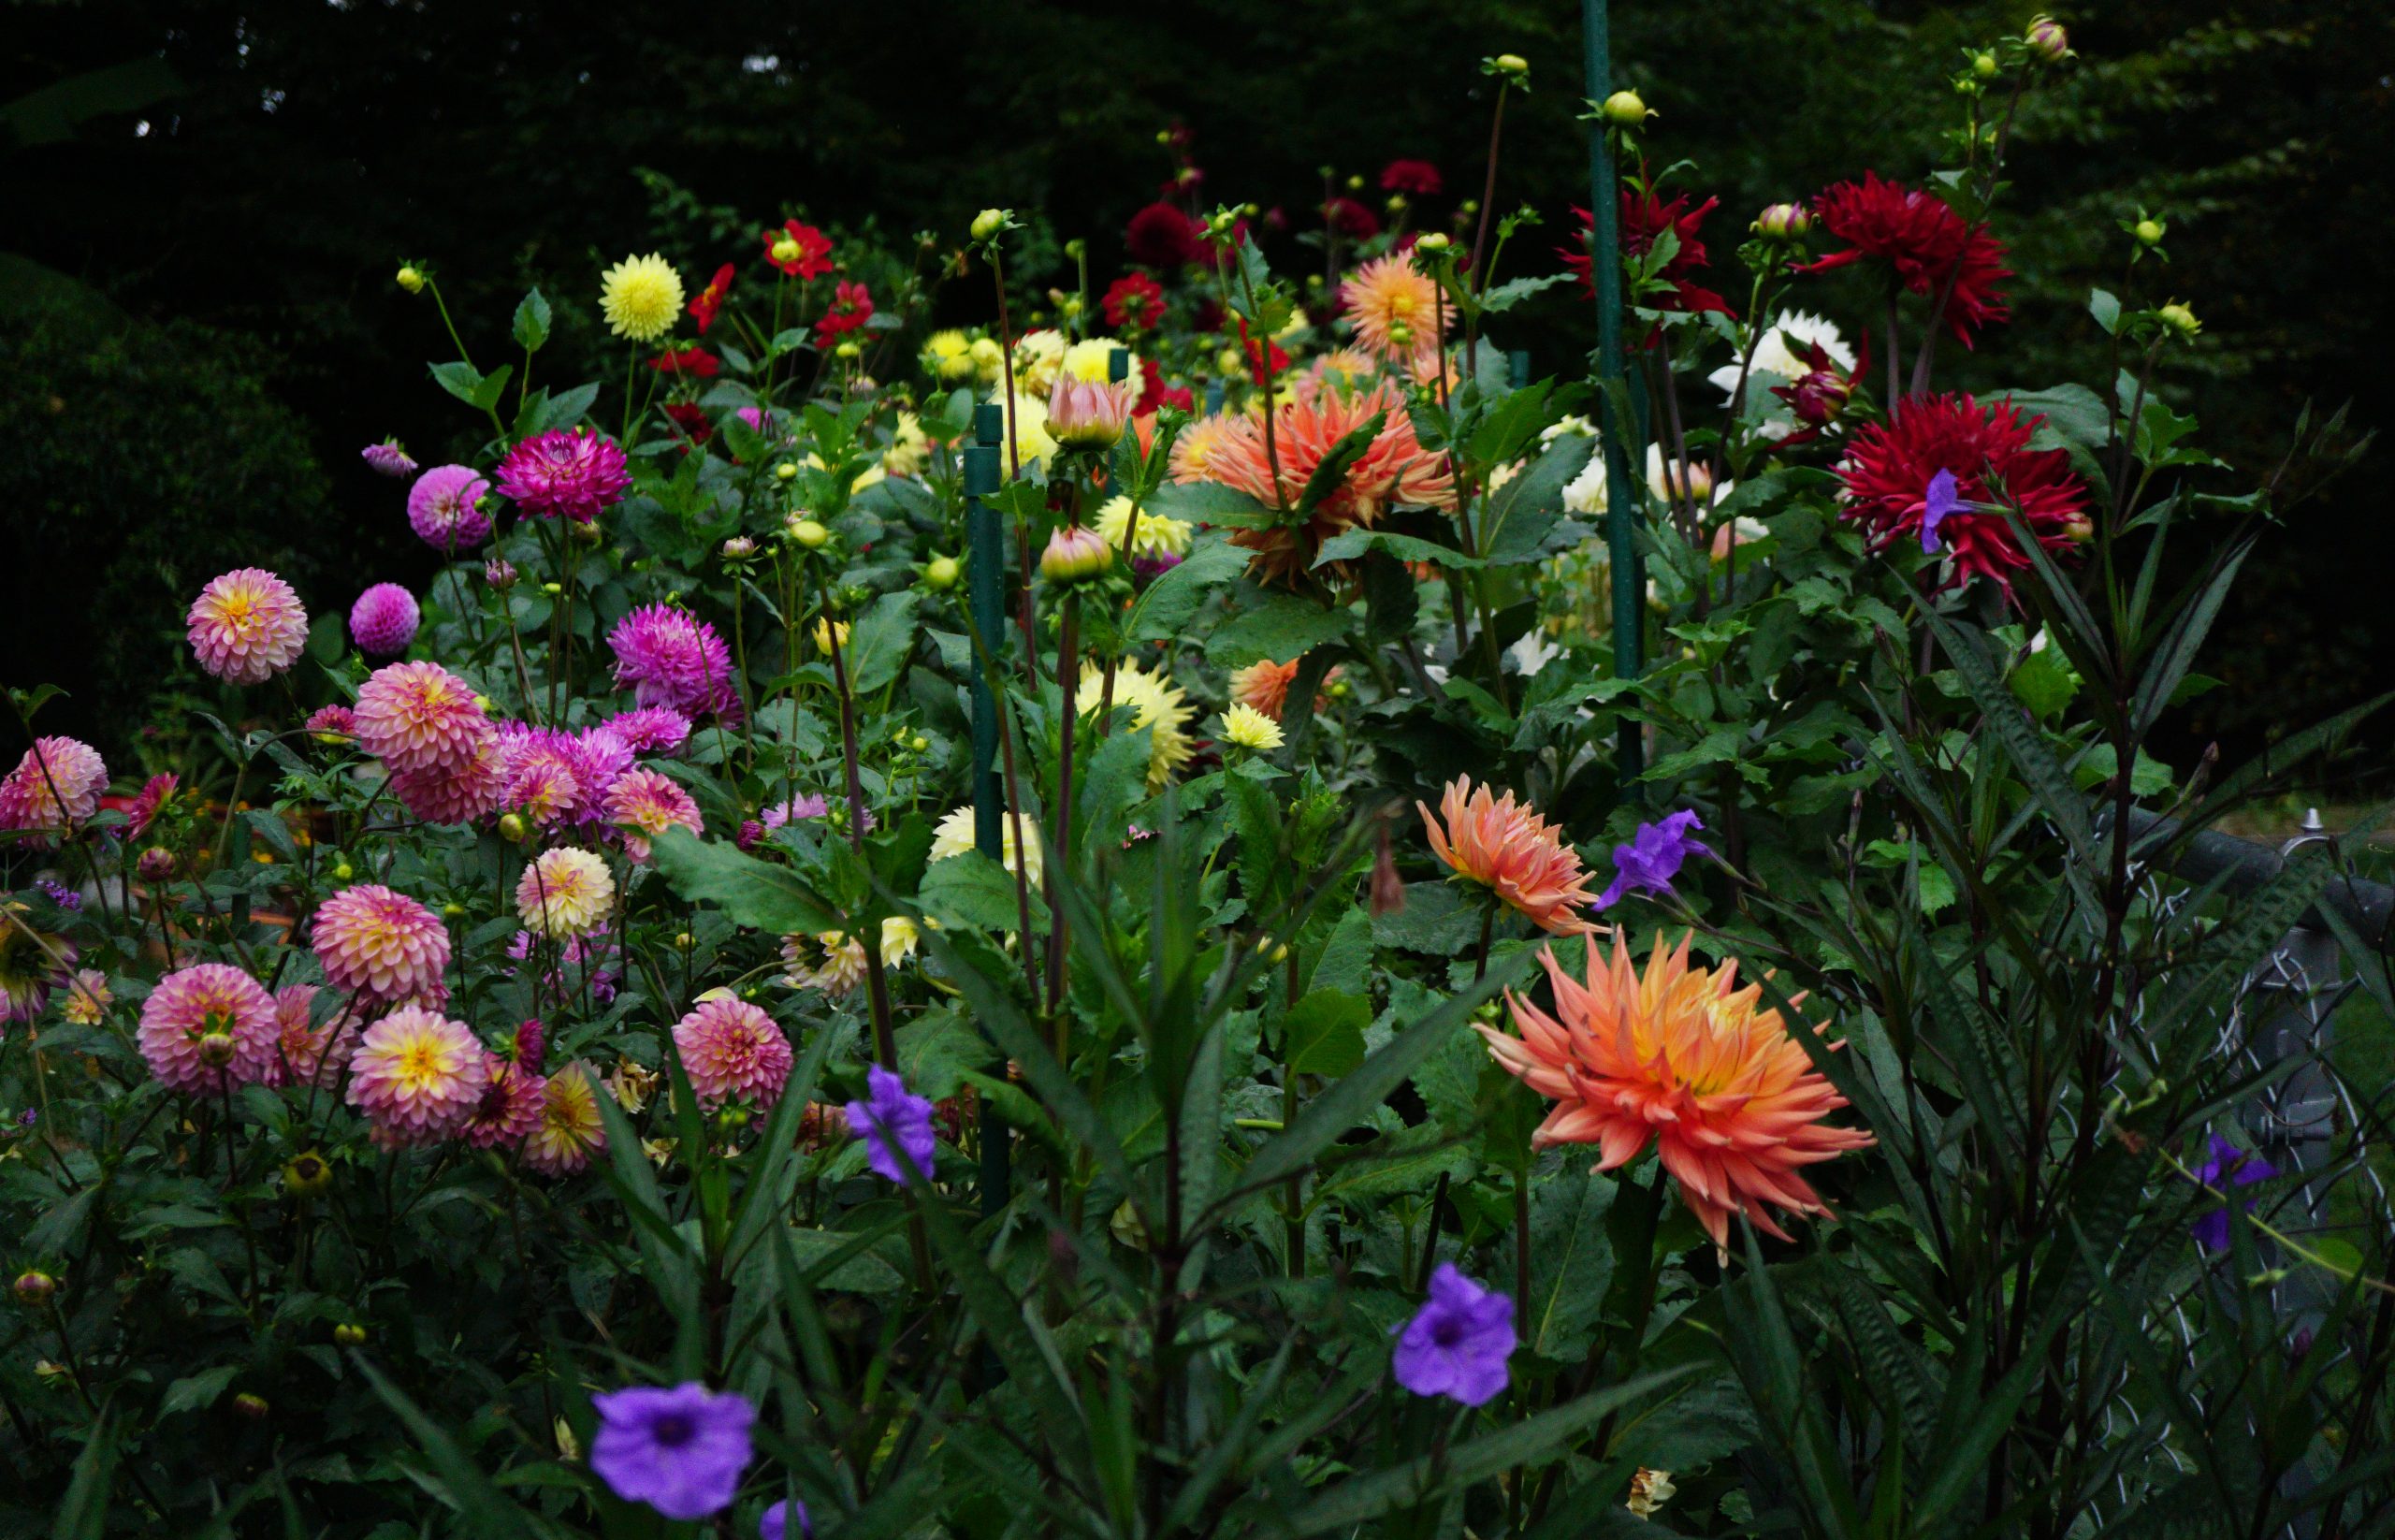
Tried the “Healing Brush” technique below. It worked really well. I used it to remove the garden stakes in the picture below.

04/30/2026
Tried removing some green garden stakes from a dahlia picture. A google search suggested several ways. This link looks very promising. The “Healing Brush” option seems like it should work. Need to practice with it.
https://helpx.adobe.com/si/photoshop/how-to/remove-unwanted-objects-from-photos.html
04/29/2026
Notes on Photoshop tutorial. Create a dreamy effect.
Take a picture that is fine, very sharp, and make it “dreamy.” Really means blur it a bit.
04/28/2026
In preparation for editing my dahlia photos. The “High Pass” function in Photoshop looks promising. It can be used to sharpen the focal point of a photo, which might be useful when trying to highlight a particular flower and let the rest of the image stay blurred.
High Pass is a filter. Make sure you chose Filter/Other/High Pass (High Pass is also directly under Filter, seems to work differently. ?)
In the little window that appears, move image around until the part you want to be sharp is displayed. After setting the Radius to a “good” value, then change “Normal” to “Overlay”. It will not be sharper.
In Photoshop, the tutorial on how to do all this is un Hands-on/Beginners./Retouch Photos.